Wednesday 22 September 2010


Some pictures of the cross in situ. These are not such good photos, and I aim to get some better ones soon. The positioning of the strong lights in the church hall is good for the art work, but not for taking photographs. A high wall to one side cuts out the light from across the hall - frustrating! I aim to use a mobile light source for better pics, so watch this space...


Tuesday 21 September 2010


This evening, new ragged cross was sited in the church hall of Selby Methodist Church. The cross was wrapped in bubble wrap and carried through the streets of Selby to the location. I would like to thank Nigel Currey for assisting me in this task. He played the role of minder very well, especially amidst the comments we drew.
The diagram above is by Martin Pascoe. I woould like to pay tribute to Martin, who worked brilliantly and efficiently in suspending the cross this evening. His clever planning, care and dexterity with the fixtures, fittings and wires, were truly impressive, and with only one set of long ladders!
Photos of the cross in situ will follow.

Sunday 12 September 2010


Here are some photos showing this side of the cross completed. The moving of the cross to the church hall may be a tricky procedure, as it is more delicate than it looks. Fingers crossed the siting of the work goes well.


Thursday 2 September 2010


The work is nearly complete! All that remains is to turn the cross over, and attach a number of flower- and leaf-shapes to the 'nature' side. After that....the hanging. Above are some photos showing details of the finished side.


Wednesday 25 August 2010


Yesterday, I worked on the painting of the water flowing along the arms of the cross. I used acrylic paints from a range of Interference Colours. These colours can give a shimmering effect, especially when applied over 3-d surfaces, and when seen from different angles and in changing light.


Tuesday 10 August 2010

As it was sunny and breezy today, I decided to spray-paint the cross outside. Ideally, I would have liked to have moved it to Cygnus Works for this process, but it is difficult to fit into a car. However, this meant setting up the table and moving the cross downstairs. Thanks to Linda for helping with this.
The photos below give more of an idea of how the finished article will appear. The gold-coloured surface, with its various textures, should catch the changing light during the day. Some of the objects have been positioned, prior to being glued into place. The close-up shows a 'cut' or interruption in the surface, revealing the 'innards', which are painted with red enamel. The red has been applied wherever the inside is revealed. The making of the piece is nearing completion...
It is holiday-time soon, so no further posts for a while.


Monday 9 August 2010

This side has now been primed. Across the arms of the cross I intend to have a stretch of water. This has been tricky to model, but I am feeling better about it just now. My plan is to colour this with interference paints, which change their tone / colour when seen from different angles and in changing light.

Above: Some close-up shots showing details of the surface. At the right-hand end, is a section with broken mirror and CD bits. This section will be fixed into the open doorway, and should hopefully reflect light outwards. I may cut a 'window' into the doorway, in order to aid this.
The next stage is to colour both sides. Initially, this will be done with gold spray paints, but other colours will be applied by hand afterwards. The various elements will be attached after that process has been carried out.

Friday 6 August 2010


Today, I spent some hours in York, finding small objects to be included on this side of the cross. I took these photos as a record of where I intend to place the various items. The cross will need to be primed, and then both sides coloured, before several of the items can be fixed on. Some things have already been glued on to the surface, however.

What can you spot?


Tuesday 3 August 2010


Above and below: The cross has been turned over. The side that has been worked on is now supported on small, strategically-placed plastic containers and bubble-wrap. The lengthy process of applying layers of paper and paste begins again. The picture below gives a clearer idea of the small open doorway towards the head of the cross.


Sunday 1 August 2010

First of all, respect to the writer of the hymn! I was trying to think of a title for the work, and with the word 'cross' in mind, I suppose I remembered this hymn. It's not a particular favorite of mine, but may be so for an older generation. For me, the title has romanticised ideas of the cross. I guess the contemporary associations of the word 'rugged' are different from those in the days when the hymn was written.
However, in making a cross that incorporated contemporary elements and references, I was keen to use the word 'new' in the title of the work. 'Ragged' describes edge and surface qualities within the work, but could be ironic when following 'new'; after all, if something is new, we don't expect it to be ragged. 'New' and 'ragged' in combination, suggest deliberate intentions within the work, one to do with the physical surface, the other to do with its contemporary meaning.
'new ragged cross' is also a convenient twist on the hymn title, and could link hymn and artwork together across time.

Friday 30 July 2010

Today I primed this side of the work with an acrylic undercoat. The mosaic of torn newspaper bits can confuse the surface, making it difficult to 'read' (pardon the pun). The primer reveals the forms and surfaces more clearly. Any adjustments can be planned and made, prior to colouring.


Wednesday 28 July 2010


Here are some characters which will be appearing in the work. There will be approx 40 figures of men, women and children, some workmen, a fisherman, 3 swans-a-swimming, and various other items of contemporary and/or symbolic significance. Today, I worked more on the low relief of the 'nature' side, and painted all the '0' scale figures. There is a lot of work ahead, and I hope I can complete it in time for early September.

Tuesday 27 July 2010

Welcome from Martin!

This is an online record of the making of 'new ragged cross' for Selby Methodist Church. I aim to post more photos as the work progresses. Please feel free to add comments.


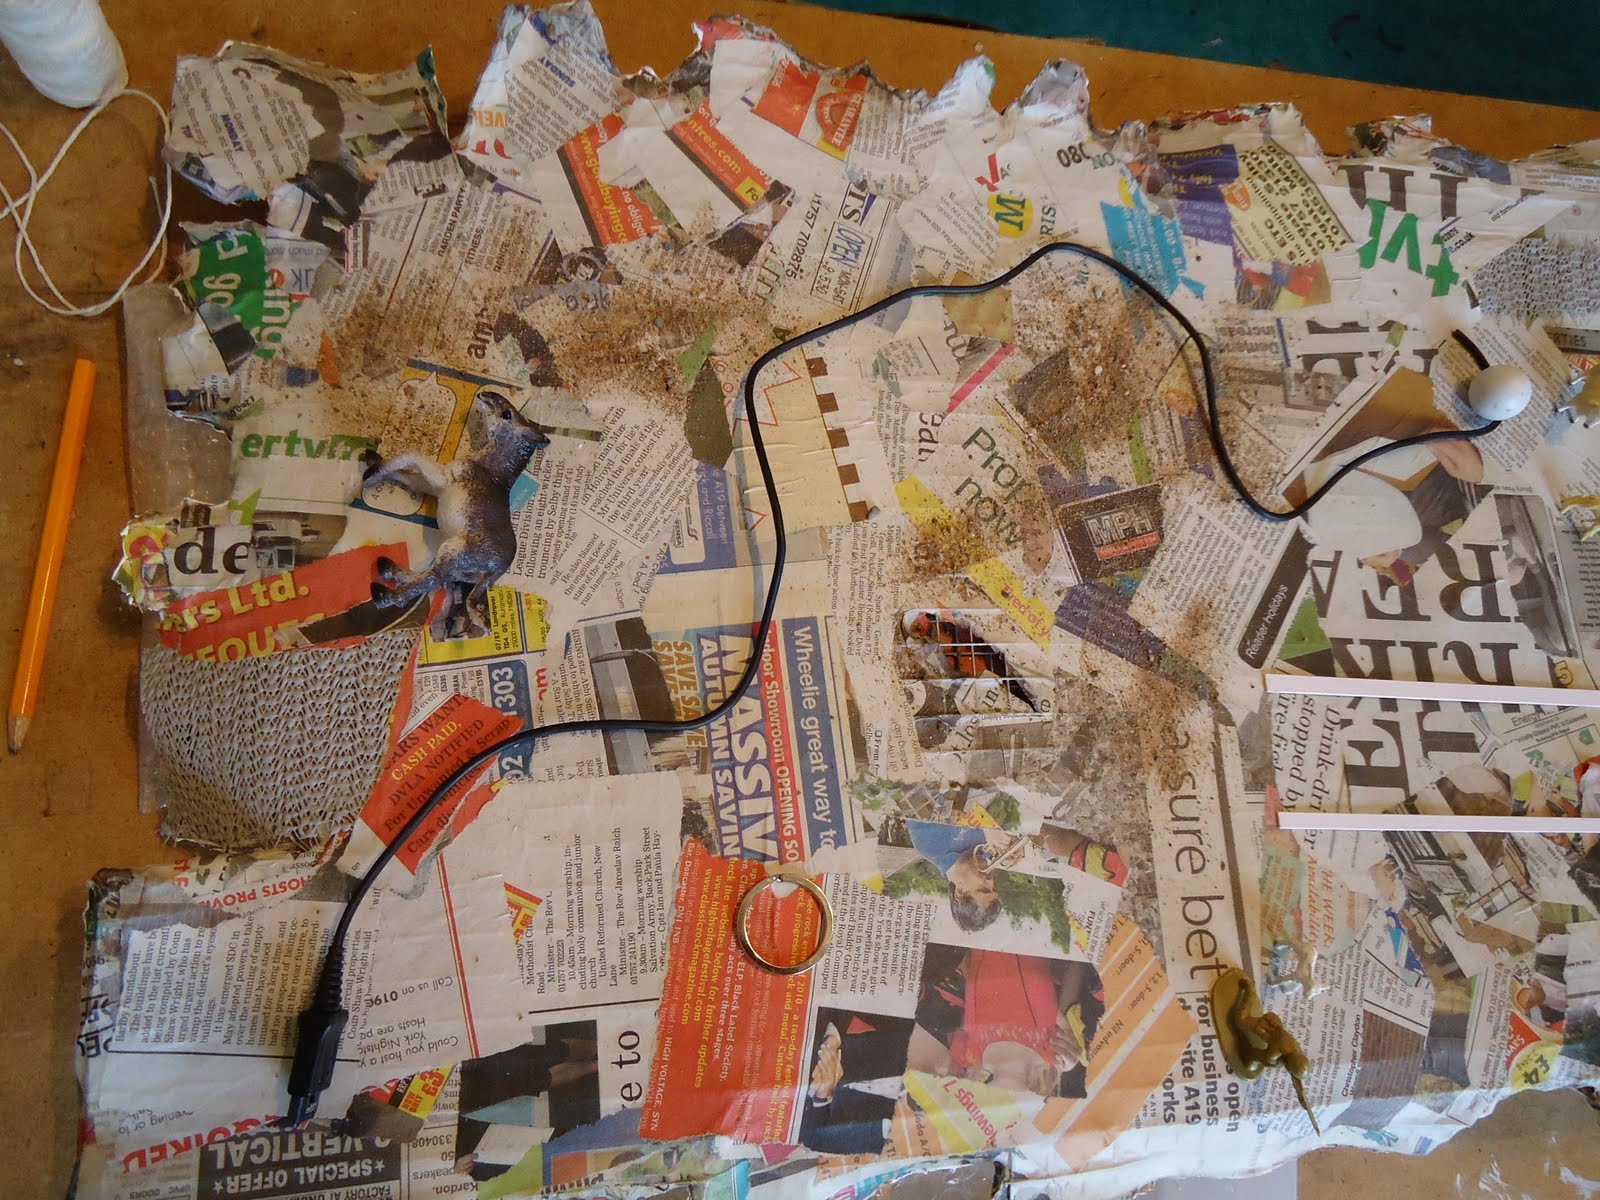
I started with a wire mesh frame, onto which layers of paper are pasted. The cutting and shaping of the edges is the tricky part, as the wire mesh can be unforgiving.
The low relief of the natural plant forms was done with tissue paper and paste.

The flower shapes were made with cardboard, wire, paper and glue. Here, (below) they are being primed, prior to being coloured.
At top right, are boxes and packets containing some of the objects which will later be glued onto the other side of the work. More pictures of these later.


The piece is approximately six feet long, so takes up a lot of space in my studio. The aim is to hang the work in space, so I'm trying to keep to light materials.